

Crafting Custom Silhouette Picture Charms: A Step-by-Step Jewelry Making Tutorial
Are you eager to embark on a creative journey crafting your own picture silhouette charms? Look no further! In is detailed jewelry making tutorial, we'll guide you through the process using Canva, bezel settings, glass cabochons, and pendant frames. Let's dive in and bring your personalized jewelry designs to life!
**Step 1: Gather Your Materials**
Before we begin, ensure you have all the essentials on hand:
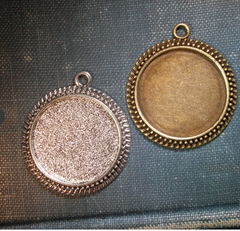
- Bezel settings / pendant frames
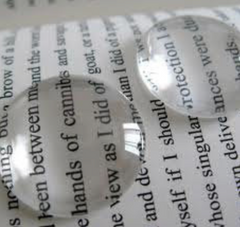
- Glass cabochons
- Scissors
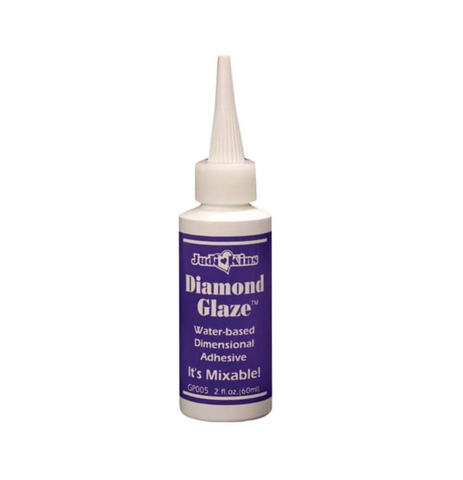
- Diamond Glaze glue
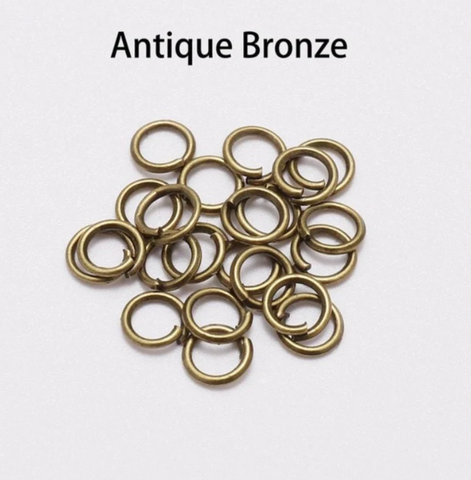
- Jumprings
- Necklaces
- Printer
- Access to Canva (whether on your computer or mobile device)
- Portrait photos ( side profile photos)
- Canva (website www.canva.com)
With your materials ready, let's move on to the first step in creating your stunning silhouette charms.
**Step 2: Select Your Portrait Photos**
Choose the portrait photos you wish to transform into silhouette picture charms. These could be portraits of loved ones, pets, or even yourself! Opt for images with distinct outlines to ensure clear silhouettes. If necessary, use photo editing software to adjust brightness and contrast for optimal results.
**Step 3: Create Silhouettes in Canva**
Canva serves as our creative hub for crafting the perfect silhouettes. Follow these steps:
1. Open Canva and create a new design matching the dimensions of your pendant frames.
2. Upload your chosen portrait photo.
3. Utilize Canva's "Effects" or "Filters" to refine the photo until achieving a crisp silhouette.
4. Once satisfied, download the silhouette image.
5.Print images ( I prefer using a laser printer or a photo printer with at least 65lb paper)
**: Prepare Your Bezel Settings**
While your silhouette images download, prepare clean your bezel settings and glass cabochons. Position the glass cabochons over the silhouette images to gauge sizing.
**Step 5: Assemble Your Charms**
Let's bring your charms to life with this assembly process:

1. Apply a dab of craft glue to back of the glass cabochon..
2. Apply a few drops of Diamond Glaze on the flat side of the glass cabochon ( visit my other blog post for more detailed instructions if needed).
3. Press the glass cabochon firmly over the silhouette image to secure it in place.
4. Allow the glue to thoroughly dry before handling your charms.
5.Trim off excess paper
6.Glue the finished glass cabochons into the bezel settings
**Step 6: Add jumpings and any other Finishing Touches**
Once dry, your silhouette Picture charms are nearly complete! Consider adding extra flair with beads or additional charms to the pendant frames for a personalized touch. Once satisfied with the design, attach the charms to chains or bracelets using jump rings.
**Step 7: Show Off Your Creations!**
Congratulations on crafting your own personalized silhouette charms! Whether adorning your own jewelry charms as accessories or gifting a handmade Christmas ornament for a loved one, these unique creations are bound to impress. Share your designs proudly with the world and watch as they become cherished keepsakes.
Don't delay—Shop here for huge selection of photo frames and matching glass cabochons and start creating today.